Drill the hinge holes a little further down
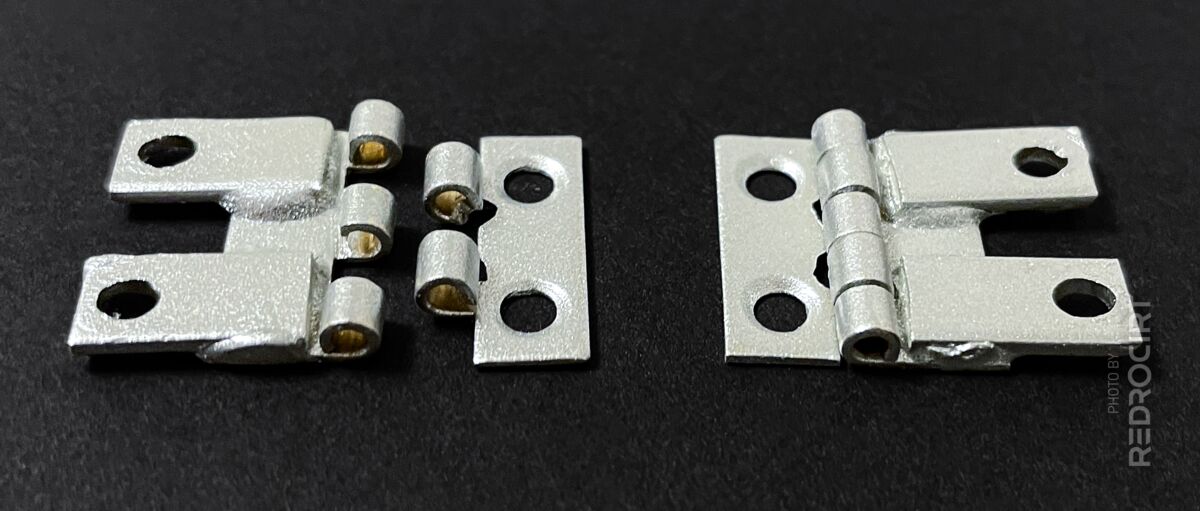
Section titled Drill the hinge holes a little further downEarly in the project, I had modified the hinges (version 1) to allow up to 4 wires to pass through each hinge. After some recent installation testing, I found that the holes in the hinges should be a little further down, below the vertical center, to hide them better. I modified a set of new brass hinges accordingly.

Left: Hole too far up; Right: Better 
Left: Hole too far up; Right: Better 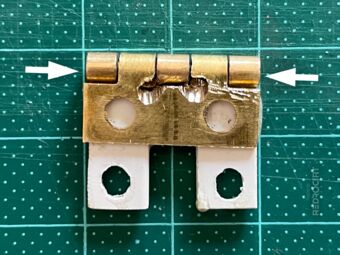
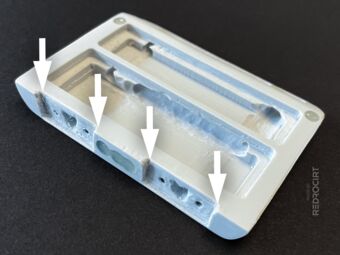
Better version (holes further down)


Spray painting the hinges
Section titled Spray painting the hingesPainting the brass hinges silver is not as easy as you might think. Should you paint the hinges before attaching them to the door, or is it better to paint the entire case at the end? I've read a few posts from other prop builder, and it seems to be a common problem that the paint flakes off the hinges during use.
I decided to paint the hinges before assembly. First, I roughened the surfaces of the individual parts of the brass hinges with sandpaper and then spray painted them with a primer. After that, I lightly roughened the primer and then spray painted the parts silver and added a glossy finish.

Spray painting the hinge leaves 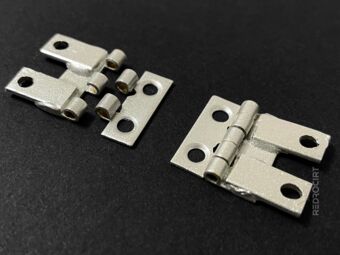
Silver spray painted hinge leaves 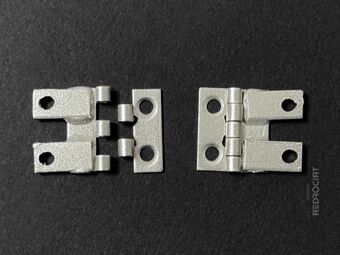
Silver spray painted hinge leaves


It looks pretty good for now - we'll see if it stays that way....
Modifying the recesses in the door for the hinges
Section titled Modifying the recesses in the door for the hingesThe recesses in the door for the hinge leaves had slightly rounded corners. I didn't like this look and wanted rectangular corners. So I applied a modeling putty, let it dry, and then tried sanding the corners to a point.
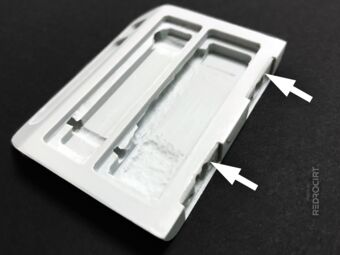
Recesses with rounded corners 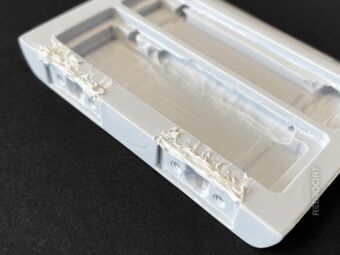
Added modeling putty 
Let the putty dry... 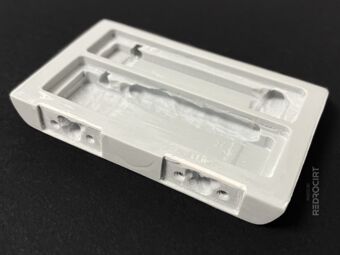
Filed and sanded putty 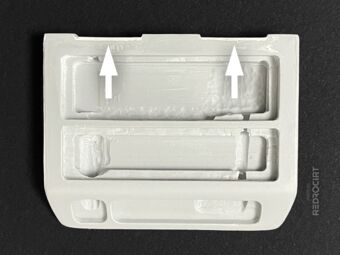
Formed square corners 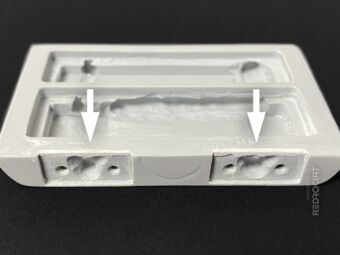
Corners filled with putty


A few days later...
Section titled A few days later...I had sanded the putty flat and was happy with the corners... but it did not last long. The putty did not adhere well to the door surface (resin) and crumbled off after a few days. I had to change my plan. I screwed the hinges back onto the door and double checked the alignment.
It should be possible to make the recess for the hinges a little deeper. This way I get straight corners and can also hide the drilled holes for the wires better. So I used a sharp knife to carefully enlarge the recess and glued thin white ABS profiles on the outside of the hinge leaves.
Increased the recess 
Top view of the recesses 
The added ABS covers the holes 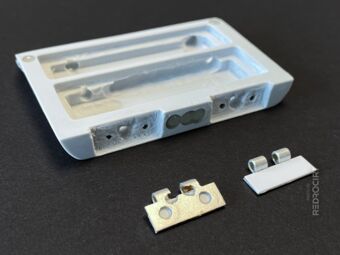
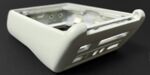
Hinge leaves next to the door 
Hinge leaves next to the door 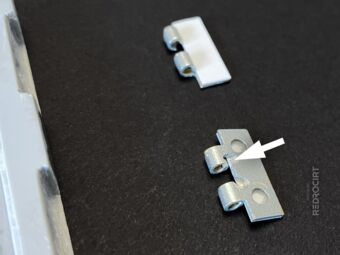
The ABS profile covers the holes


As you can see from the photos, I have also added magnets to the door....
Related articles
Section titled Related articles- 2020 Jan 12: Preparing the hinges – Version 1 (wires through the hinges)
- 2020 Nov 14: Capacitive touch sensors (modified the door)