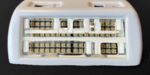
Gluing the lower frame to the main body
Section titled Gluing the lower frame to the main bodyOver the course of several days, I gradually applied several thick layers of an ultra-strong two-component epoxy adhesive to all sides and gaps and let it dry through overnight. I had thoroughly cleaned the frame and main body beforehand and at the beginning I used clamps to hold the parts in place while gluing.
Thick layers of 2-component epoxy 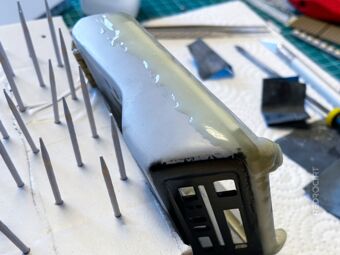
Let it dry thoroughly overnight 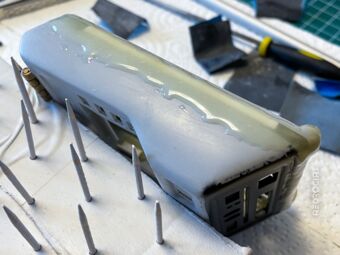
Applied on all sides to fill all gaps


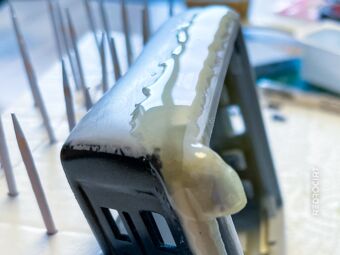
I didn't photograph every step because it basically always looked like above. After mixing, the glue had a high viscosity, but was still liquid enough to run down the sides. Therefore, within the first hour of application, I periodically checked to see if the glue was still in the desired places and removed glue drops.
Applying filler, sand it down, repeat
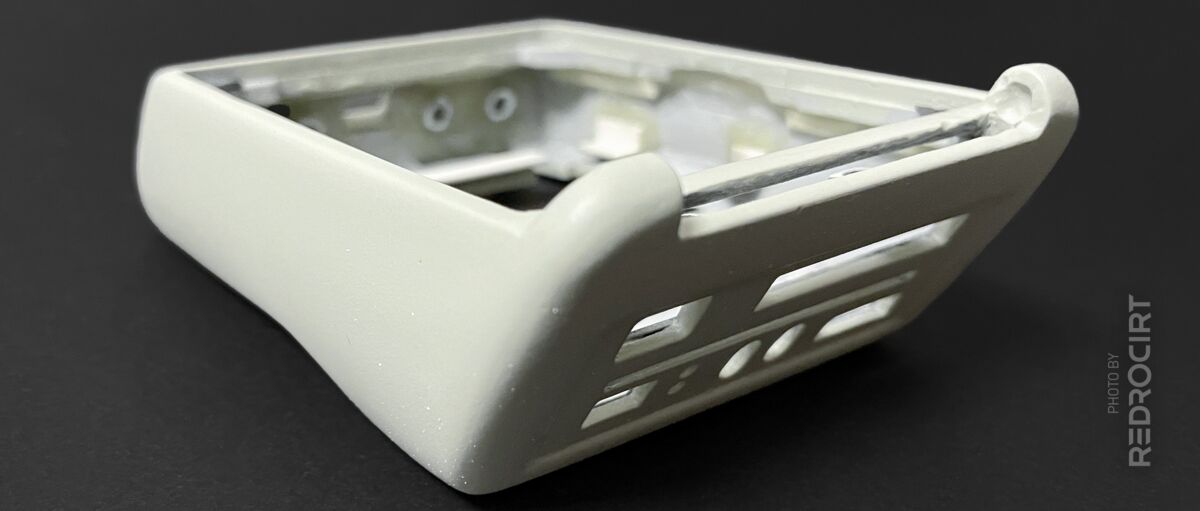
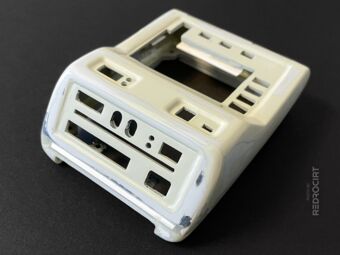
Section titled Applying filler, sand it down, repeatAfter the glue was applied to all sides and dried, I first roughly filed off the excess glue by hand and then sanded the sides into shape. I used different types of sandpaper, first dry sandpaper (grits from coarse 150 to fine 800) and later wet sandpaper with finer grit sizes. Then I sprayed on a first coat of a filler/primer mix, let it dry and sanded it down again.
Sides filed and ground into shape 
The scanner corners were tricky 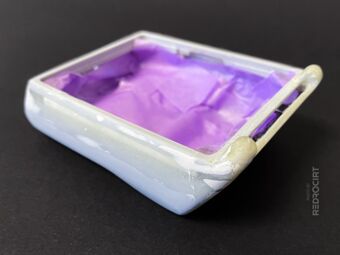
Tried to get a smooth transition 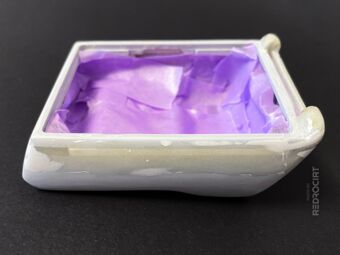
Some air bubble holes still visible 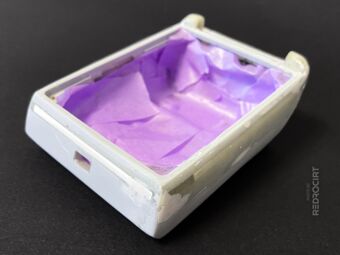
Added putty to the lower corner 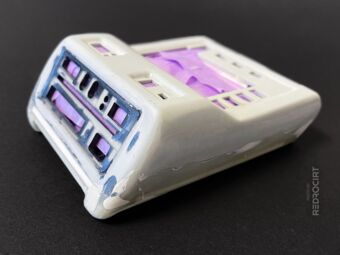
Transition is still to be improved


Of course, there were still some blemishes like tiny air bubbles, so I repeated these steps several times...
Tried to get smooth rounded corners 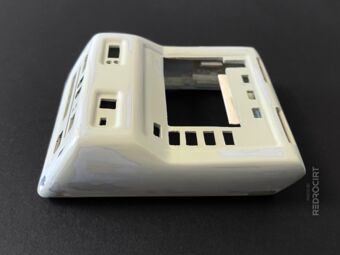
More sanding required 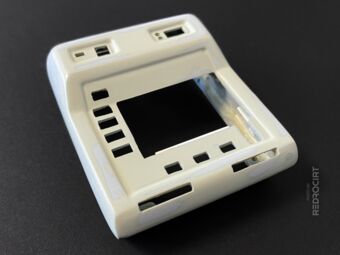
Still some scratches visible 
Close up of the sanded front 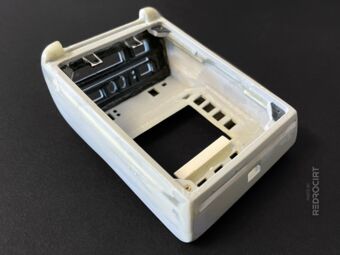
Making slow progress 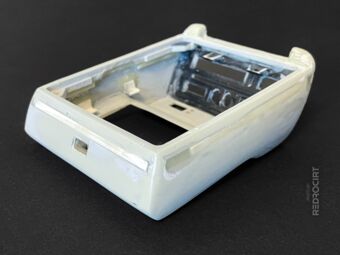
The corner needed more epoxy


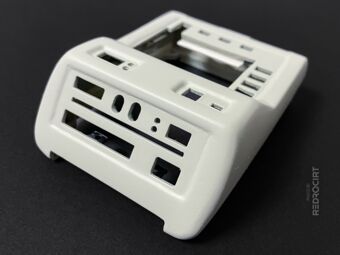
Sanding the long sides was quite easy. More difficult were the recessed areas, the edges and especially the front. Here I had to touch up several times because the glued-in ABS profile remained visible for a long time. After applying a new coat of filler, it was always quite easy to see where touch-ups were needed:

This side came out quite well 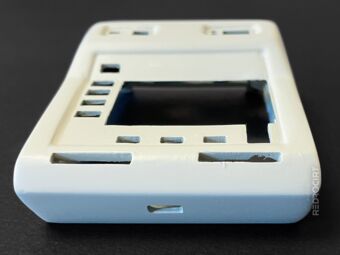
The edges could be improved 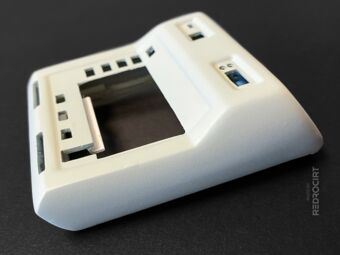
Still some blemishes 
More sanding at the front required 
Still some scratches to remove 
Annoying dents still visible


After way too many hours of sanding, I was finally satisfied with the look of the main shell (but not quite finished yet). There were still a few minor blemishes, but all in all, the glue joints were no longer visible, and I think I also managed to make it look like it was cast in one piece.
The front looks alright now 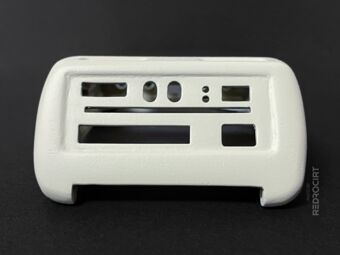
Going to sand it again anyway... 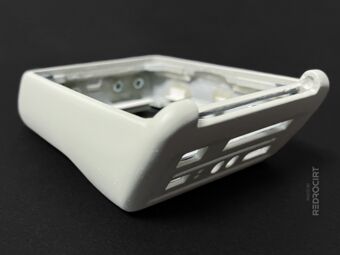
Scanner corners turned out well 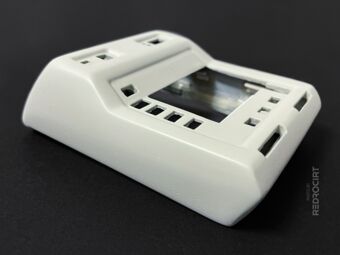
Like a one-piece, but still air bubbles 
The lower side looked alright 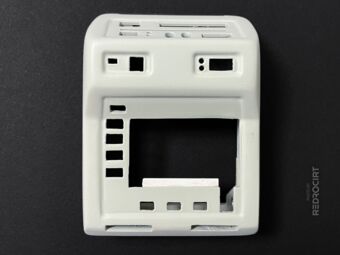
Ready to move on...