The second year of my building process began with a three-month break from the project due to work and other things. But in April, I finally had some free time to move on. The electronics in my test rig have been working (not perfect but okay), so I thought it was time to modify the housing, especially the front.
Contents
- Main shell before the front modifications
- New acrylic laser-cut for the front
- Making the cutout in the shell
- Recessed front panel with rounded edges
- Gluing in the acrylic font panel
- Adding supports for the NeoPixel stick
- Adding partitions to reduce light bleed
- First coats of black spray paint
- Spray painting the new greebles
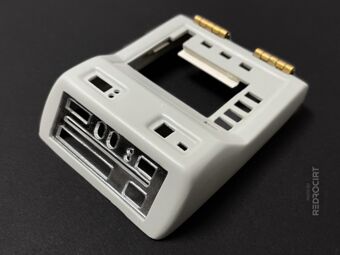
Main shell before the front modifications
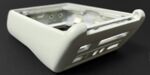
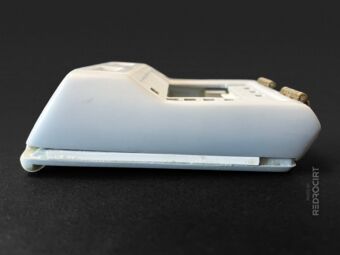
Section titled Main shell before the front modificationsFirst, a few views of the shell with the adjustments made earlier:
- Height of the lower frame increased with 3 mm ABS profiles
- Hole for the USB socket added at the lower end below the hinges
- I had temporarily removed the black USB housing to avoid fitting problems with the ABS profiles
Left side 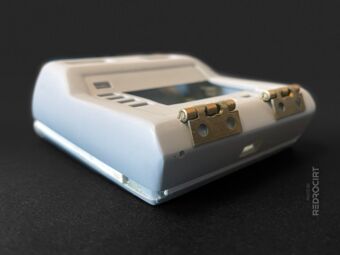
Gaps are later filled with putty 
Lower side with hole for USB 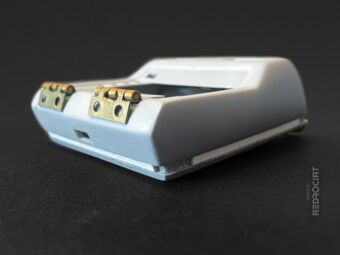
Height increased by 3 mm 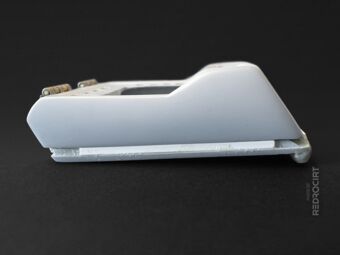
Right side 
Front (top before modification)


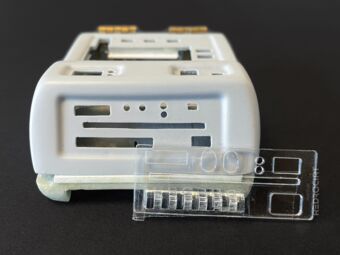
New acrylic laser-cut for the front
Section titled New acrylic laser-cut for the frontBack in October I had decided to use two DotStar Matrix panels for the front LEDs. I had redraw the shape for the acrylic front panel so that the cutouts and holes fit perfectly on the SMD LED positions of the DotStar matrix boards. I decided to use the full width of the LED matrix, which means the new laser-cut acrylic piece is slightly larger than the front cutouts already in the shell.
Greebles temp. fixed with tape 
Roughly aligned/positioned 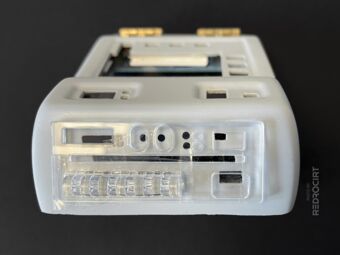
Larger faceplate for custom front


Making the cutout in the shell
Section titled Making the cutout in the shellI used a high speed cutter to make the main cutout. This took some time, but worked well. Then I carefully filed the hole larger and the edges straight so that the acrylic faceplate would fit inside.
After cutting and filing, this is what it looked like with the acrylic front panel temporarily inserted:
Faceplate inserted into the hole 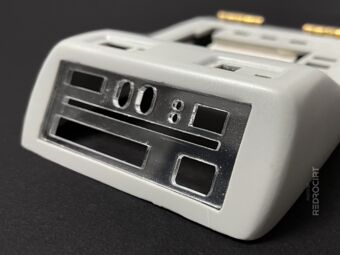
Close-up of the front 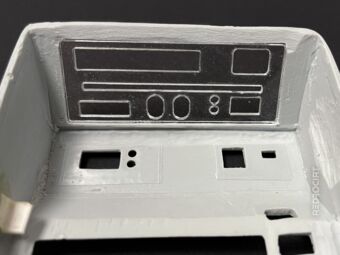
Inside view with acrylic faceplate 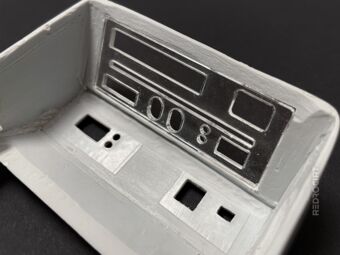
Another inside view 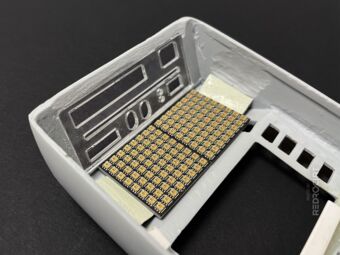
Adding the LED matrix 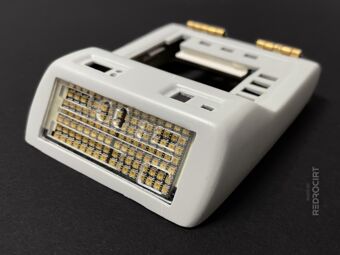
Fitting test with LED matrix


Recessed front panel with rounded edges
Section titled Recessed front panel with rounded edgesOf course, I didn't want to have a flat surface on the front. The scanner panel should be recessed and the edges should be rounded. I carefully filed by hand and sanded again. The corners were particularly tricky.

Recessed, before rounding edges 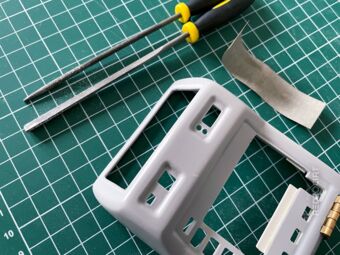
Filing and sanding 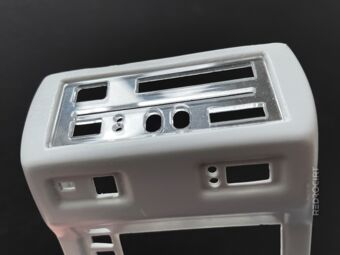
Recessed with rounded edges


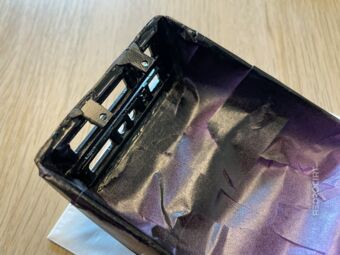
Gluing in the acrylic font panel
Section titled Gluing in the acrylic font panelTo permanently attach the acrylic front panel, I used a strong dual-component epoxy adhesive (almost transparent, slightly yellowish). While the glue gradually set over the first two hours, I kept checking the alignment and position of the acrylic panel and corrected it carefully if necessary.

Adding 2-component epoxy 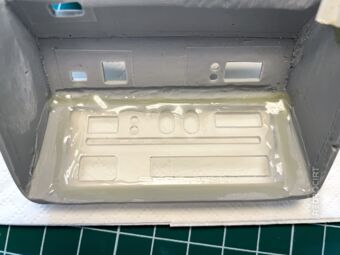
The glue filled the small gaps 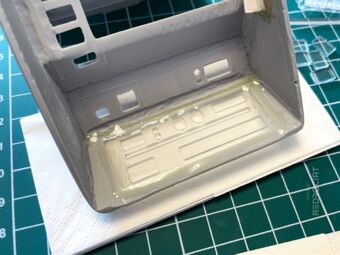
Letting it dry overnight


Adding supports for the NeoPixel stick
Section titled Adding supports for the NeoPixel stickWhen the glue was completely dry the next day, I glued in two supports made of white ABS profiles for the NeoPixel stick. I had previously drilled holes for screws in these profiles, adjusted the length and glued nuts on one side. I didn't want to permanently glue down the NeoPixel stick even at this stage, so I carefully removed the screws and the stick after 1-2 hours. I let the glue for the supports dry overnight again.
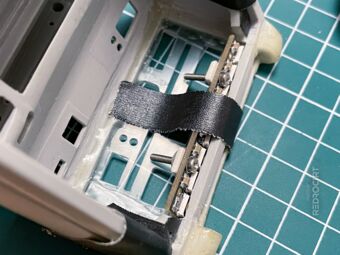
LED stick temporarily inserted 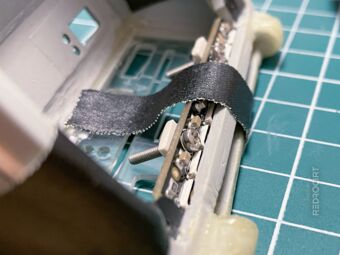
The screws act as supports... 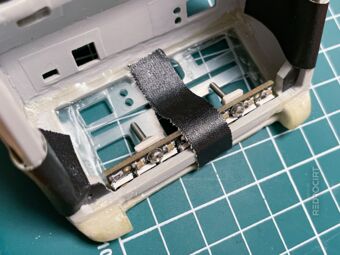
...while the glue dries slowly


This is what it looked like the next day, with and without the NeoPixel stick and the lower frame:

Nuts glued on the white supports 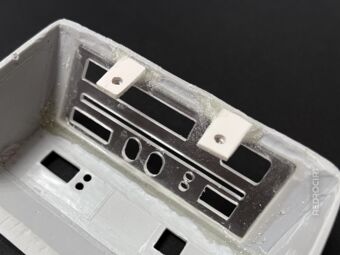
Supports for the LED stick 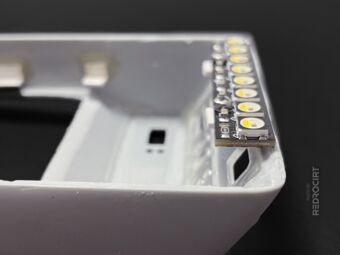
LED stick screwed on supports 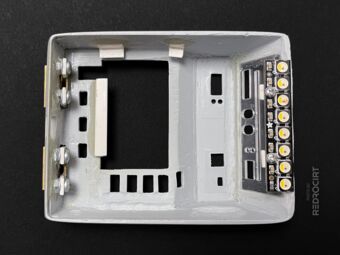
Inside view of the main shell 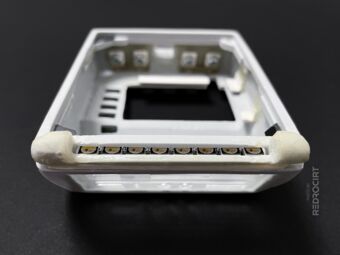
Upside down view with the LEDs 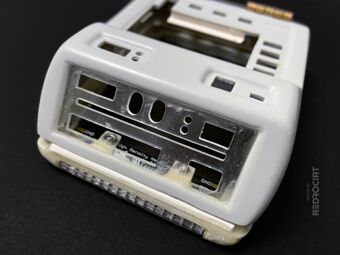
Main shell placed on lower frame


Adding partitions to reduce light bleed
Section titled Adding partitions to reduce light bleedSome other replicas I have seen suffer from light bleeding (stray light from one LED that gives the impression that other LEDs are also glowing). I wanted to try to prevent the light bleeding as much as I could. Therefore, I cut small ABS stripes and glued them to the back of the acrylic panel.
Hopefully, after spray paint is applied, this will reduce light bleed when the LED matrix is placed directly on these dividers. And I also hope that the glue, ABS profiles and spray paint added later will not melt from the heat of the DotStar LEDs (the tightly packed matrix boards can get very hot).

Adding ABS profiles 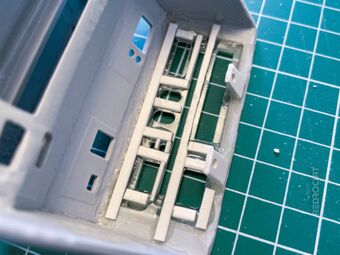
Gluing in with 2-component epoxy 
All sides covered with partitions 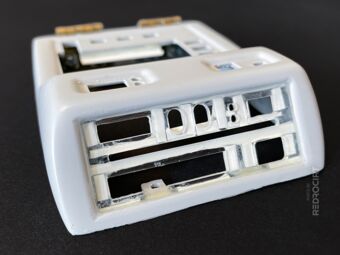
Front view with partitions 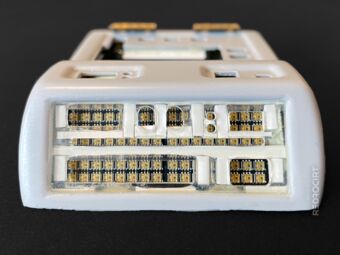
Fitting test with LED panels 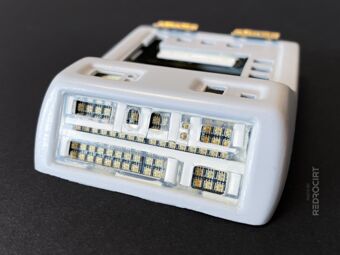
Hopefully less scattered light...


First coats of black spray paint
Section titled First coats of black spray paintAgain, I let the glue for the partitions/dividers dry thoroughly overnight. The next day I cleaned the shell with the new acrylic front, taped off everything but the front, and after adding a plastic primer I applied a first coat of black spray paint. After a few hours, I applied another coat of black spray paint. As a result, I ended up with an opaque layer of black paint on the inside that would further reduce light bleeding.
After applying the first coat 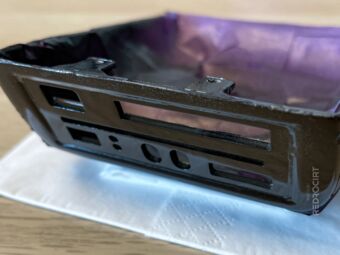
Black cutout sides and edges 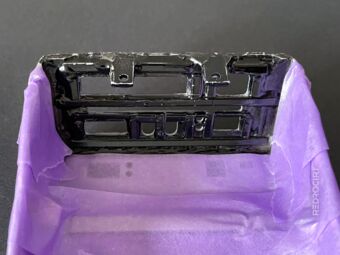
Preparation for the second coat


Spray painting the new greebles
Section titled Spray painting the new greeblesWhile the glue and later the paint on the main case was drying, I also spray painted some of the greebles for the cutouts on the new acrylic front...
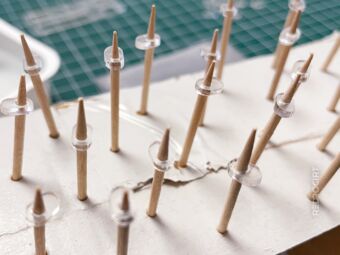
Using toothpicks as supports 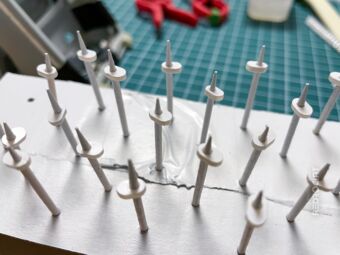
After first coat of white paint 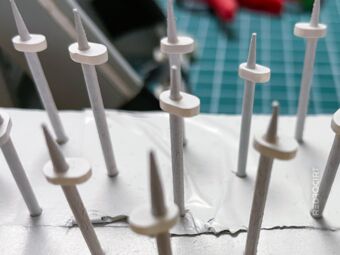
Flip all greebles for second layer 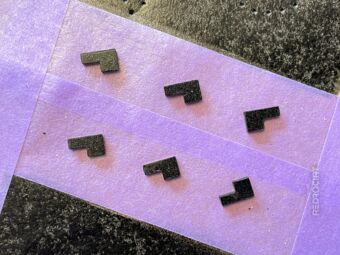
After first coat of black paint 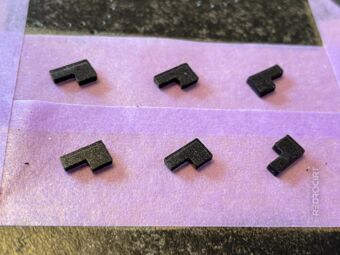
The surface was uneven, so I... 
sanded it down (and sprayed again)