To be able to charge the LiPo battery without opening the rear cover (and to optionally use a USB power supply during longer software test phases), I wanted to add a USB socket to the main case. I also wanted to keep the Micro-USB form factor that is already used on the Raspberry Pi and PowerBoost module. Fortunately, there are small USB DIY connectors available.

DIY Micro-B USB socket 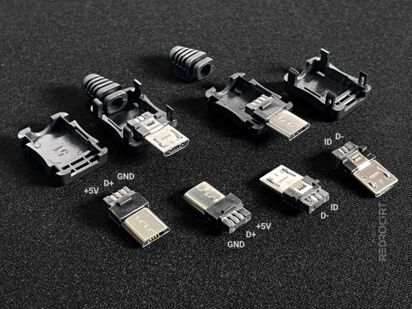
DIY Micro-B USB plug


Install a USB socket in the housing
Section titled Install a USB socket in the housingI drilled a hole in the slanted bottom side of the shell, centered below the hinges, close to the shell's back side, in a 90 degree angle to keep a flat surface. Then I carefully filed the hole rectangular to the size of the plastic housing of the USB socket.
Before I applied the glue I made sure to have the correct rotation for the plastic shell: The socket's solder stripes should be accessible from the maintenance door. I glued the USB housing in place with ultra-strong epoxy and let it dry overnight.

Inserted USB plastic shell 
Bonded with epoxy 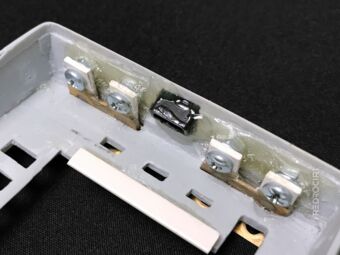
The USB plastic shell is slanted 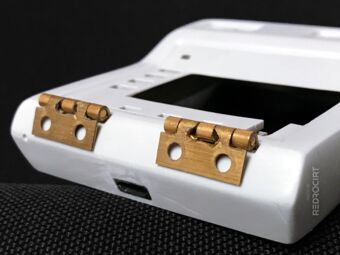
... but flat on the outside 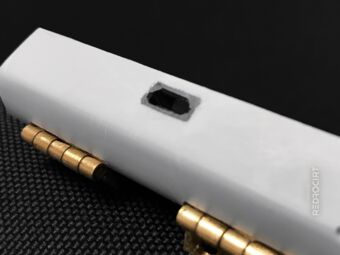
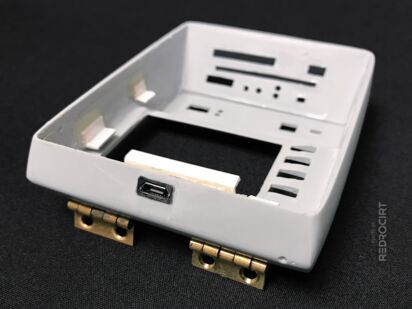
Smooth surface 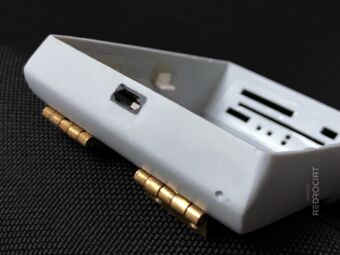
No interference with the hinges


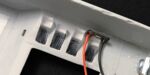
The next day I carefully sanded off the protruding glue on the outside of the USB socket and inserted the metal USB socket. And a couple of days later I soldered flexible, stranded wires to the tiny pins...
Inserted metal USB socket 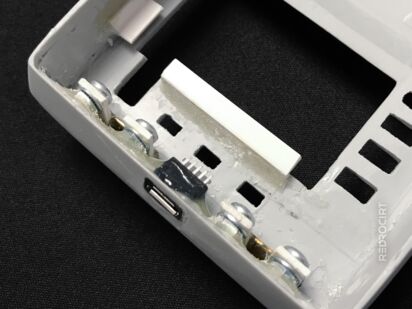
The USB solder pins are accessible 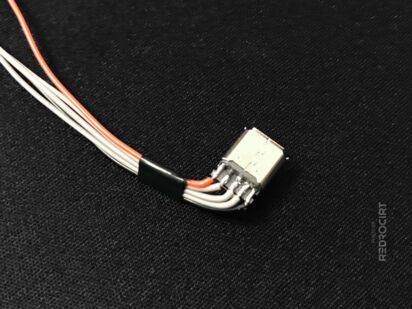
Wires soldered to the socket 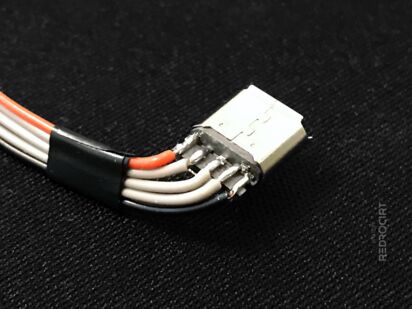
Probably won't need the grey wires for data pins


Not yet sure about the use of the USB plug
Section titled Not yet sure about the use of the USB plugWith the DIY USB plug I could make a custom connection to the PowerBoost board and keep it beeing replaceable. I wasn't sure yet if I would persue this idea, since the other PowerBoost wires are also soldered to the board so I could't replace the PowerBoost easily anyway. Well, let's see...

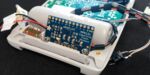
USB plug inserted into the PowerBoost port 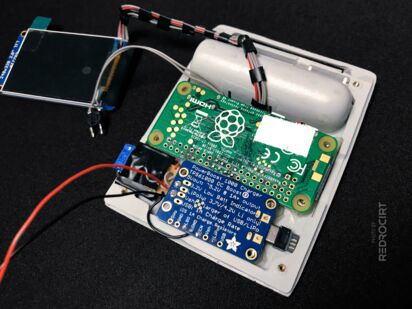
Should fit after filing notches in the frame