Over the past few weeks, I've painted and sanded the main shell several times with a combination of filler and primer to smooth out the epoxy glue areas from the magnets and reed switch, eliminate tiny holes, and get a really flat surface. I finally got to the point where I could apply the silver metallic spray paint.
I had no experience painting a larger objekt with metallic color, so this was a process of trial and error for me. It took me several attempts (after which I sanded the paint back down) to finally get an even coat.
Painted in a large cardboard box 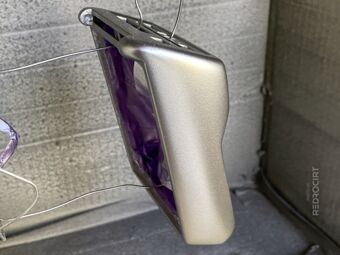
Shell suspended on a metal wire 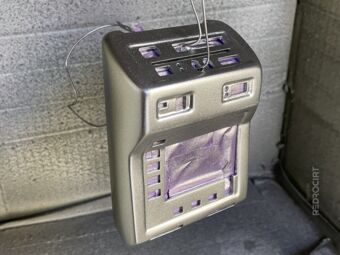
Rotated to reach all sides


I used a silver DupliColor AutoColor paint that was available at my local hardware store. After half an hour, a glossy clear coat had to be applied as a protective layer (so it's kind of a 2-component paint).
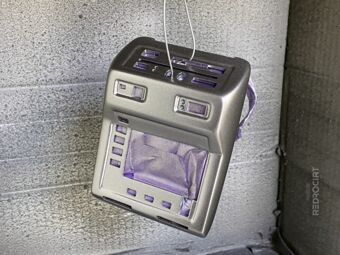
After the main shell was done, I also painted the door the same silver color. The next day, I taped off the recess on the front of the main shell to paint the scanner area with a slightly darker shade of silver. And I used the same color for the button panels of the door (the holes you can see in the photos are for the touch button wires). After the paint and clear coat dried, I painted the EMRG area black.
Masked for painting the front 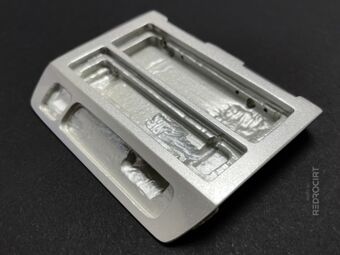
Door element with silver coating 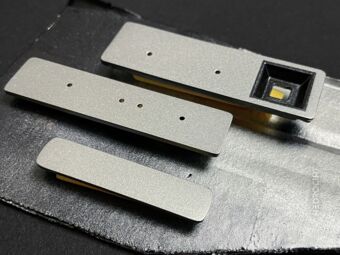
Painted button panels of the door


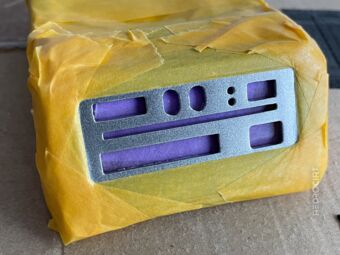
And I taped the scanner front again. This time I sprayed a very thin black border around the cutout for the center scanner light bar. Here are a few close-ups of the spray painted shell (hinges still missing):
Painted a thin black border 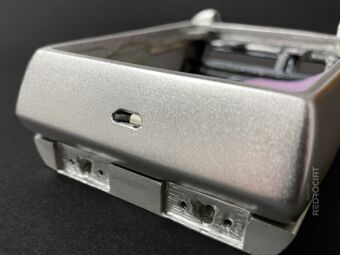
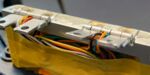
Embedded USB socket housing 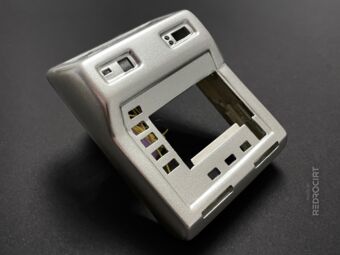
Main shell (hinges still missing)


Diffuser for the middle scanner bar
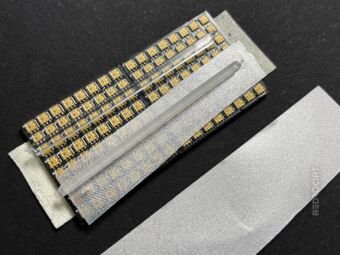
Section titled Diffuser for the middle scanner barWhen I had redesigned the front panel to fit the cutouts on the LED panels, I also had ordered a laser-cut acrylic rod for the wide scanner bar in the center of the front panel. The rod has small “feet” on the left and right ends to hold it in place. I sanded the rod for light diffusion and so you can't see through the LEDs.
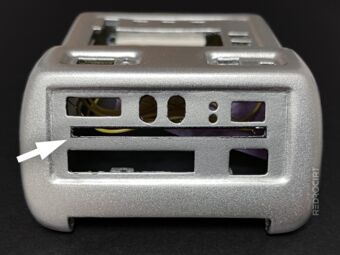
Cutout for the middle scanner bar 
Sanded the sides of the acrylic rod 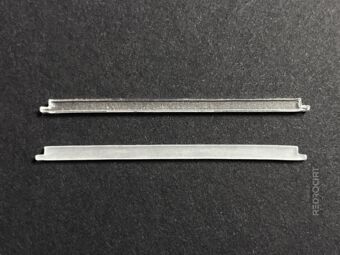
top unsanded, bottom sanded 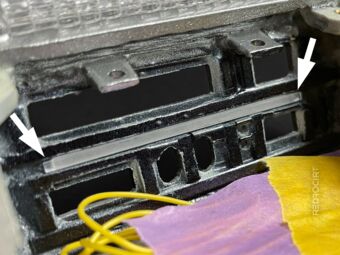
Tiny feet to hold it in place 
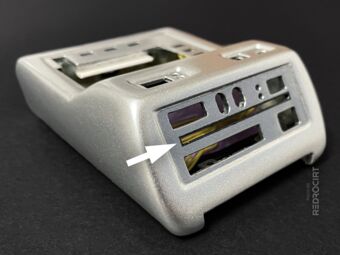
The acrylic rod in position 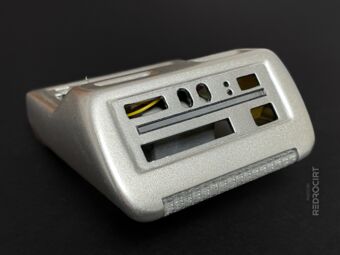
Outside view with acrylic rod


I also happened to have a piece of self-adhesive frosted glass film lying around. The film is translucent, but on closer inspection it looks like it has a silver surface texture. I tested it with an LED light behind it, and was pleased with the result. So I cut it to size and added it to the back of the acrylic rod.
Frosted glas window film 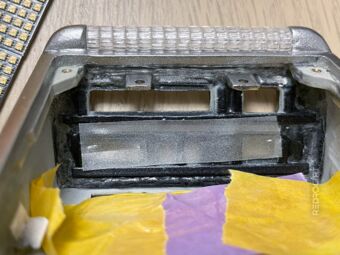
Added a piece for testing 
Top LEDs hidden by window film 
Simple test with a blue LED 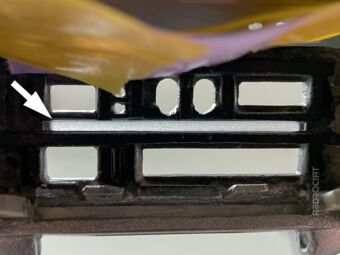
Window film cut to size 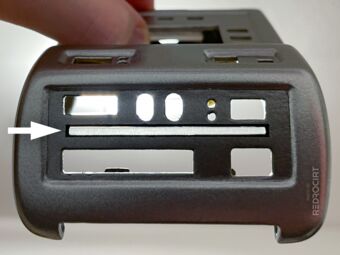
Translucent, frosted effect


Adding protruding greebles
Section titled Adding protruding greeblesNext, I selected the best-fitting laser-cut acrylic greebles and glued them into place with a transparent 2-component epoxy. For the lower (larger) row, I decided to alternate parts with and without star-shaped cutouts (with “clean” end pieces and some light scattering in between). For the upper row I used only simple acrylic parts without cutouts. The individual greebles also have “feet” for alignment.

Glued with transparent epoxy 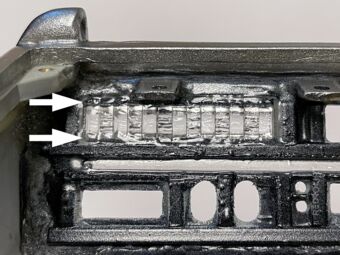
Greebles with tiny feet 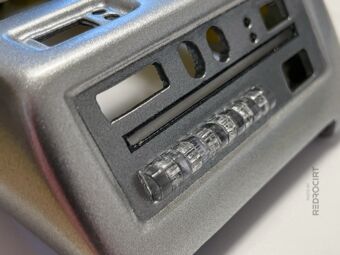
Alternating clear/scattering pieces 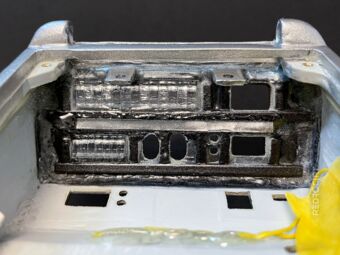
Added second row (bottom left) 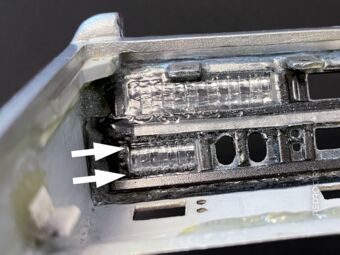
Also tiny feet top/bottom 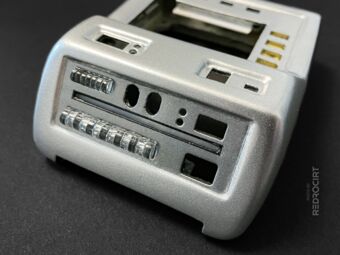
Protruding greebles at the front


Later, I added the frosted film to the back of the protruding greebles as well.
Adding white and black greebles
Section titled Adding white and black greeblesI had already painted the “eye” greebles white and the “L”-shaped corner greebles black. I chose the ones that fit best in the cutouts of the front panel and glued them in place with transparent epoxy...

White and black painted greebles 
Greebles inserted into cutouts 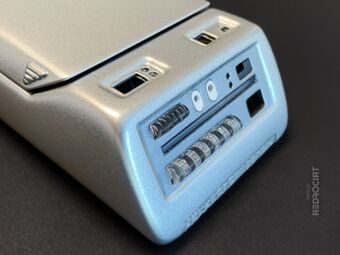
Fixed with transparent epoxy