Note: I've redone these light guides multiple time, this article is about my initial attempt (version 1).
It's all about nice blinking lights
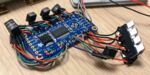
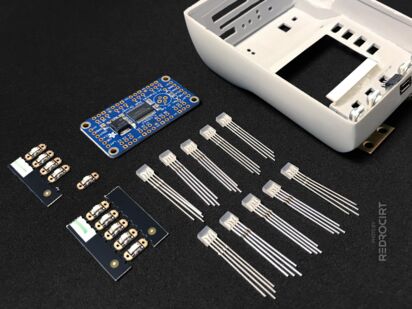
Section titled It's all about nice blinking lightsWho doesn't love the blinking Tricorder. For my replica build I've ordered rectangular RGB LEDs (5 × 2 mm) and one-colored green and red “Sequins” (mini LEDs with resistors). I also ordered the TLC5947 breakout board to control the LEDs with Raspberry Pi. It has 24 channels of 12-bit PWM output, controlled via the SPI interface of the Raspi.
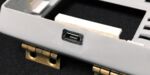
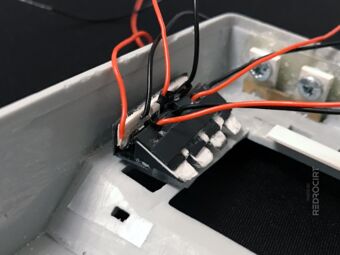
Unfortunately, the TFT display breakout board I want to use is a bit wider than the display cutout in the shell, and the solder pins of the TFT board are covering a part of the Alpha-to-Delta light row. So I have to redirect the light somehow.
Rectangular LEDs, Sequins and TLC5947 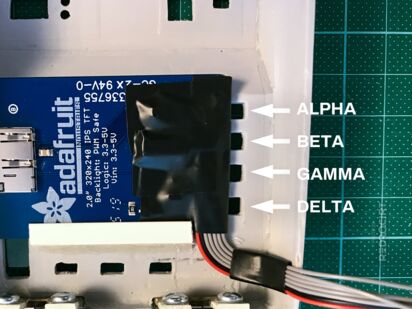
TFT is covering half of the LED cutouts


Inspiration for the light guides
Section titled Inspiration for the light guidesOf course I loved the Playmates toy as a child, and of course I was curious and opened it to see how it worked. Although I never liked that the Alpha-to-Delta lights (“ABGD”) were flashing simultaneously in the toy (one LED), I adopted the idea of a triangular acrylic light guide for my build.
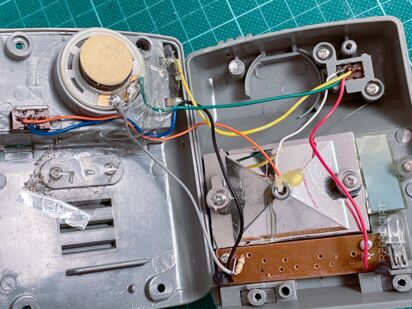
Electronics inside Playmates toy 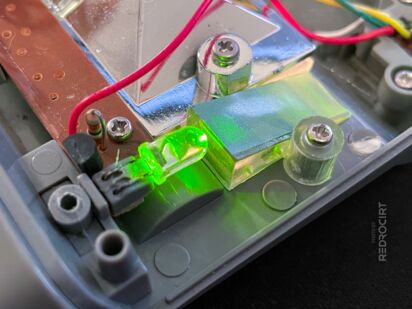
Acrylic light guide for the ABGD light row


Self-made light guides
Section titled Self-made light guidesI wanted to have four independet ABGD lights in my build, that were clearly separated (without light bleed). So I needed four separate light guides. With limited space available, I initially planned to use the green Sequin LEDs with a slight offset and prepared the light guides accordingly.
I sawed square acrylic rods into short triangular pieces that fit into the LED holes in the main shell. After filing, sanding and polishing, it looked quite promising. I also filed small corner notches to give additional support when placed inside the shell.
Custom light guides next to shell 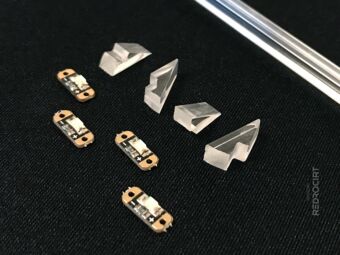
Filed acrylic rod segments 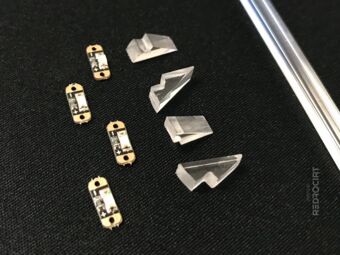
Light guides next to Sequins 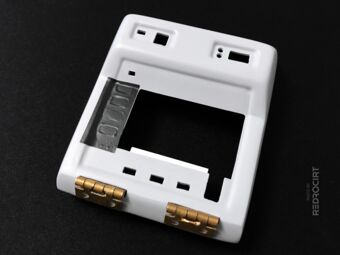
Using tape during test fitting 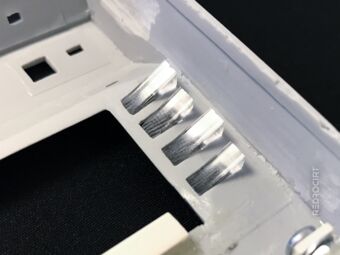
Light guides inside LED cutouts 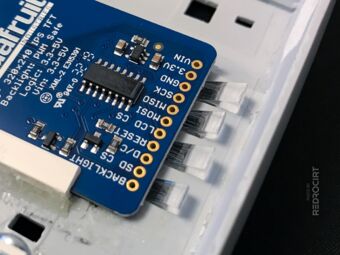
Vertexes extend below the display


Preparing Sequins
Section titled Preparing Sequins“Sequins” are ready-to-use tiny SMD LEDs that are pre-soldered with a resistor on small circuit boards and can be powered at 3-5 V. I soldered wires to the contacts and made some test fittings with the acrylic light guides. As you can see in the pictures, I prepared the light guides with different lenght because the sequins are to be placed inside with a slight offest (overlapping).
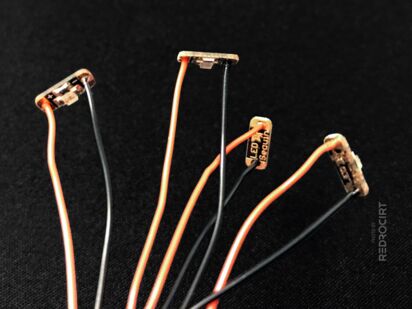
Wires soldered to the “Sequins” SMD LEDs 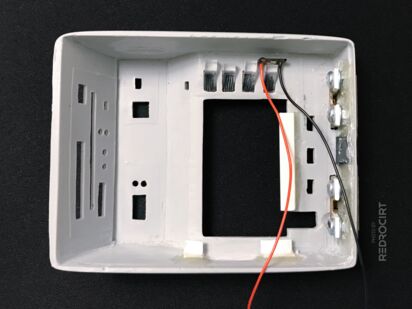
Sequin test fitting with the light guides


Prevent light bleed
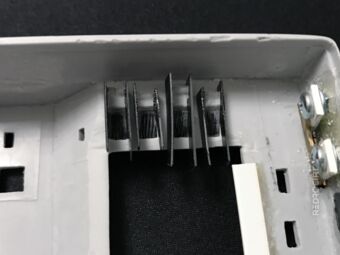
Section titled Prevent light bleedTo prevent light bleeding, I cut small pieces of opaque black 0.5mm PVC and carefully fixed them to the sides of the light guides with a small dot of glue while the light guides were temporarily positioned inside the shell.
After the glue dried, I carefully removed the light guides, cut off the protruding PVC areas, added more glue to the PVC, and also glued small stipes of white paper on the slanted top of the light guides.
The black opaque PVC sides prevent sideways light bleeding. The white paper helps reflect and diffuse the green LED light that is coming from the side wall at a 90° angle.
PVC stripes glued on sides 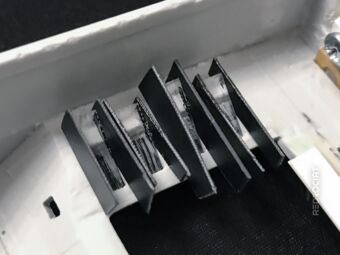
Fixed with small dots of epoxy 
Cut off protruding PVC 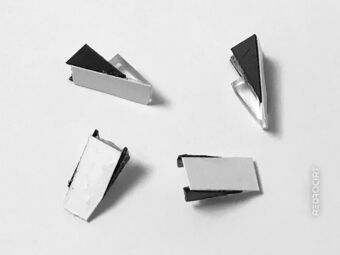
Added white paper on top 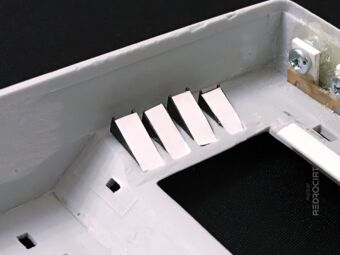
Test fitting without the display 
Test fitting with a display board


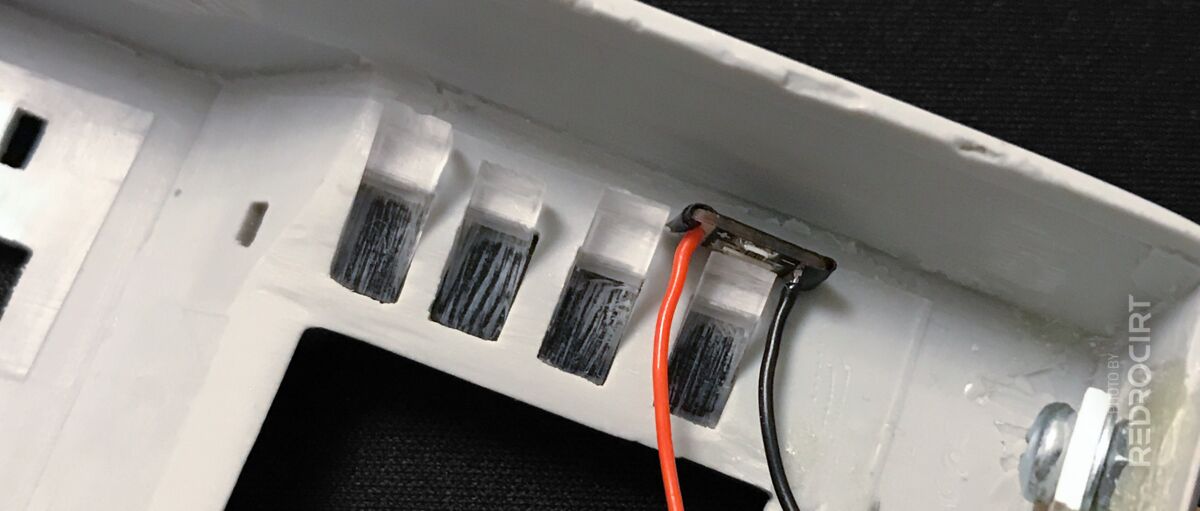
Light guide LED housing
Section titled Light guide LED housingThe light guides were temporarily hold in place with adhesive tape. I carefully glued in more small stripes of thin black and white PVC to fill the gaps between the individual light guide elements. Then I added connectors and after the glue died, I removed the light guides from the shell and created a kind of housing for the Sequin LEDs.
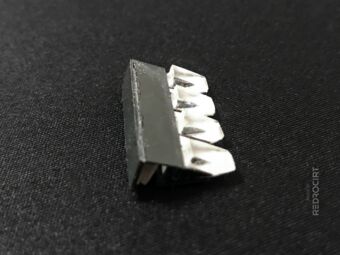
Corners provide grip in the housing 
LEDs are placed in the gaps 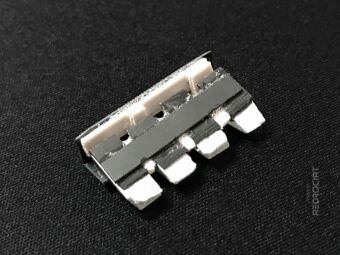
LEDs will be placed offset 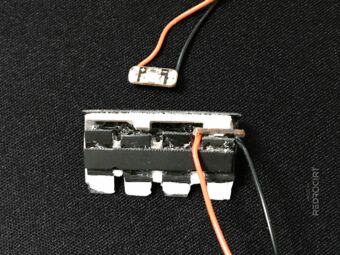
One Sequin LED in place 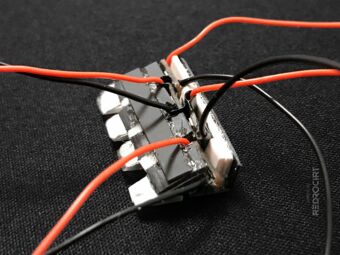
All LEDs, with insulation tape 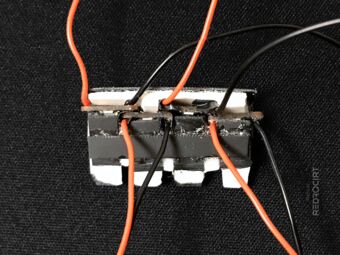
Wires go up and to front


Light guide module in place
Section titled Light guide module in placeI let the glue dry overnight and made some fine adjustments during the final test fitting. The Sequin LEDs can run on 3-5 V, so I connected them directly to the LiPo battery for some functional tests. I was very pleased with the result, no light bleed was visible at the front at all.
The “step” holds the position 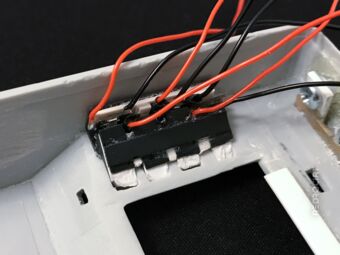
Perfect fit inside the main shell 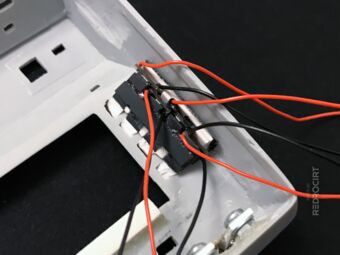
LED housing placed in position 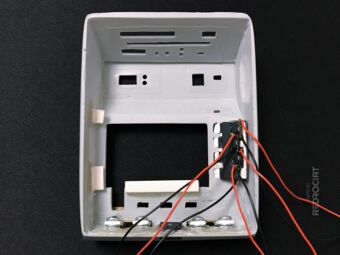
Inside top view with light guides 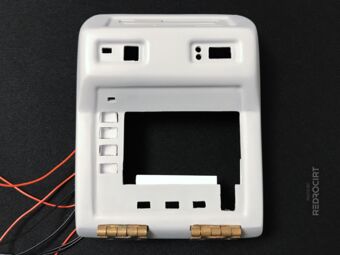
Outside top view with light guides 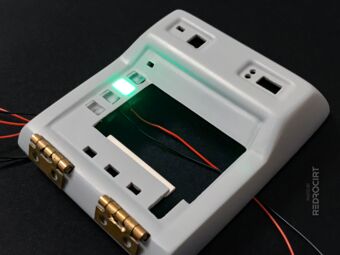
Test passed: No light bleed