New parts for the front scanner array
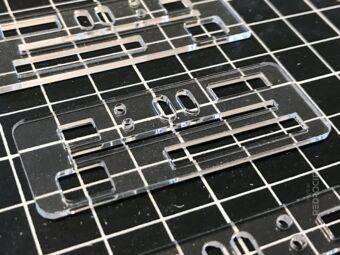
Section titled New parts for the front scanner arrayAfter my failed gluing attempts, I had redesigned the shapes and ordered new acrylic laser cuts for the bottom scanner array. I had made different shapes for the inside, like rings, arcs, stars, and so on. I had also changed the outer contour to better fit on the frame of the kit.
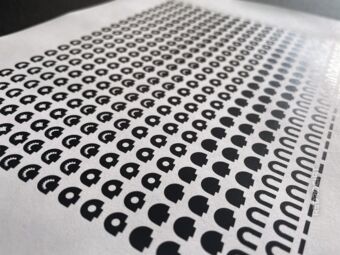
New shapes as printout 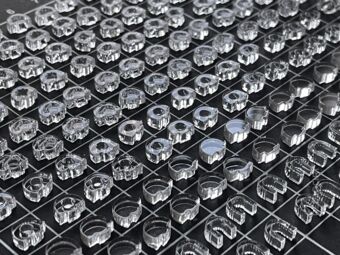
Different shapes for the holes 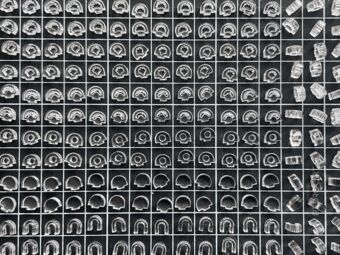
Sortet by shapes 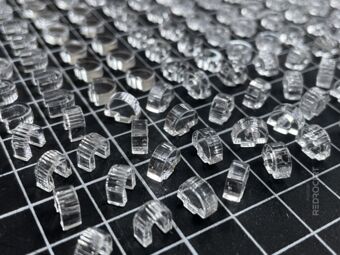
Arcs (left) would have to be glued 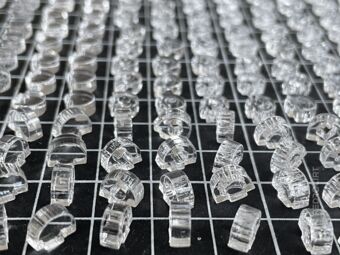
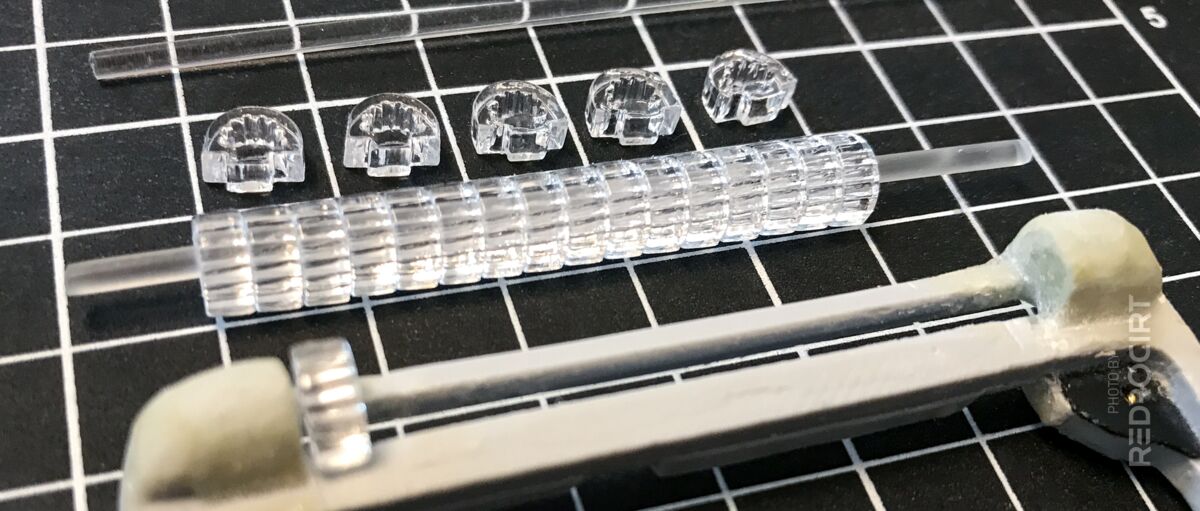
Close-up of acrylic parts 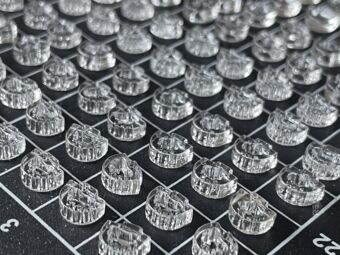
Light refraction on acrylic parts


I sorted out the U-shaped arcs (they would have had to be glued again) and some parts that didn't looked good because they were too thin/small for the laser cut. The light refraction on some pieces with the star shape on the inside look great. I sanded down a round acrylic rod to reduce the diameter to fit the holes. Then I put the individual parts on the rod. All elements are evenly aligned without any glue.
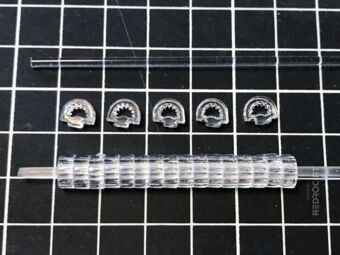
Acrylic parts put on a rod 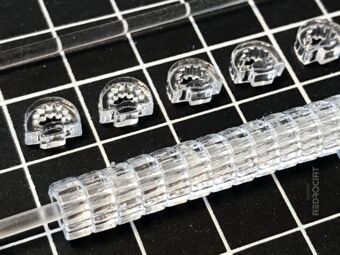
All parts evenly aligned 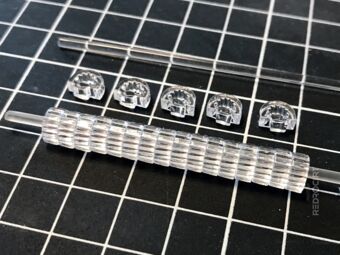
Scanner array light refraction 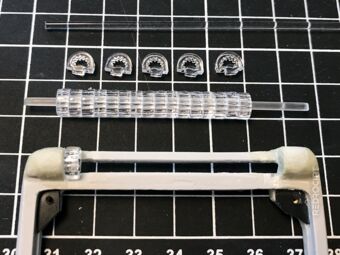
Fitting test with the new shape 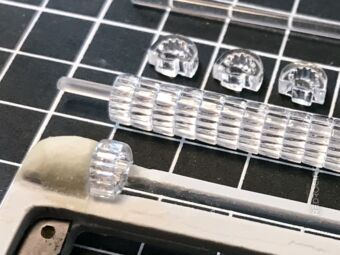
One element inserted into frame 
Ends (left/right) need to be done


I'm happy with the result, and I like the look of these parts with the refracting light. Due to the star-shaped cutouts, the individual LEDs behind it will no longer be recognizable, the LED light will get reflected in multiple directions and the colored LED light will be visible from different angles.
Adjusting the scanner cutout width and ends
Section titled Adjusting the scanner cutout width and endsI wanted my scanner array to be slightly wider than the greeble included in the kit. I carefully filed down the inner sides of the round scanner array ends on the frame to enlarge the opening for the acrylic parts. Then I applied a layer of 2-component glue, let it dry overnight, and repeated this step several times to get a thick layer of glue. Finally, I shaped the ends to my needs by carefully filing and sanding off the glue layer. I wasn't done with it when I took the photos, so the ends look a little odd in the photos.
Imitate flat rectangle LEDs with acrylic greebles?
Section titled Imitate flat rectangle LEDs with acrylic greebles?The TR-590 has another flat scanner bar in the center of the front panel, usually with green LEDs flashing from center outwards. I'm not sure yet how to integrate the LEDs for the front panel. But since there is only little space available, I will pretty much have to use tiny SMD LEDs.
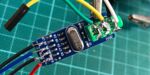
To mimic the look of rectangular LEDs, I had ordered thin acrylic rectangles. I thought that maybe I could prevent light bleed in this row by gluing 0.5mm thick opaque PVS between the parts. I'm still testing this, but I hate using glue on these acrylic parts, so I'll probably look for another solution...

Acrylic parts with PVC on sides 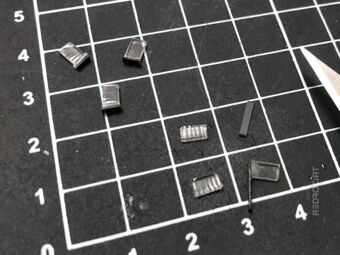
Cutting thin PVC stripes 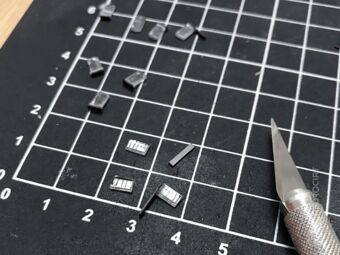
Gluing to the sides is difficult


Spray painting the white scanner “eyes”
Section titled Spray painting the white scanner “eyes”In the next days I prepared the white scanner elements (looking like cartoon eyes). I had ordered a bunch of them in different sizes (with different outside and inside diameters) because I wasn't sure which size would fit best after painting. For my first spray test, I attached the parts to a wide strip of tape.

Preparation for spray painting 
Acrylic parts on a adhesive tape 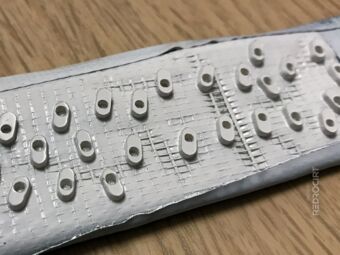
First attempt spray painting 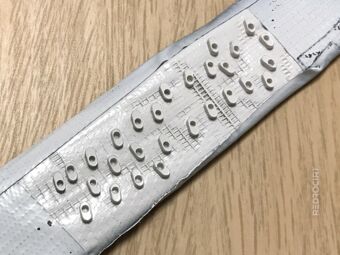
Waiting for the paint to dry 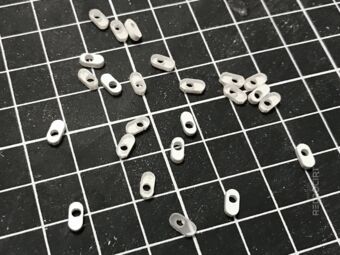
Parts after first coat of paint 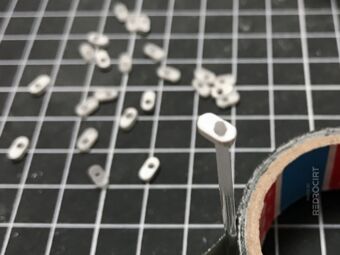
Close-up of one element on a rod


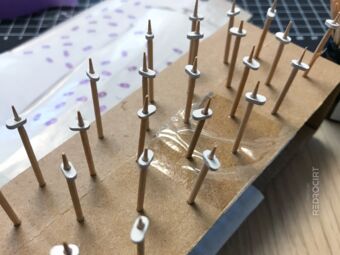
I noticed some paint peeling off the corners when I removed the pieces from the tape. Since the parts all had small holes, I changed my approach and put the parts on toothpicks for painting. After the first coat dried, I flipped all the pieces over and applied another coat of paint on the other side.
Preparing next spray painting 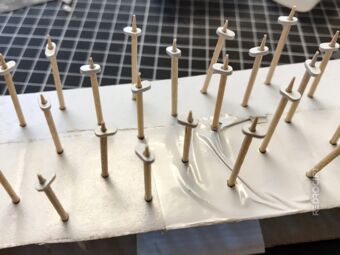
Parts after spray painting 
Close-Up of painted acrylic parts


Front scanner greebles fitting test
Section titled Front scanner greebles fitting testThe TR-590 has two rows of protruding round scanner arrays on the front. I had ordered 2mm thick laser cut acyl pieces with tiny legs and various lengths. Some of them fit perfectly into the cutouts of the front panel (which was also ordered as a custom laser cut).
Laser cut acrylic front panel 
Front view with protruding parts 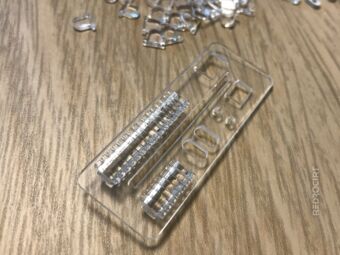
Rear view with tiny “legs” 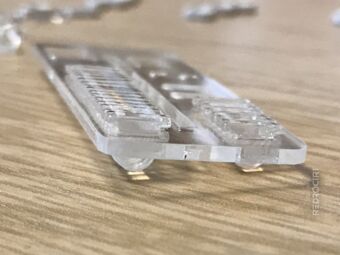
Close up of the legs 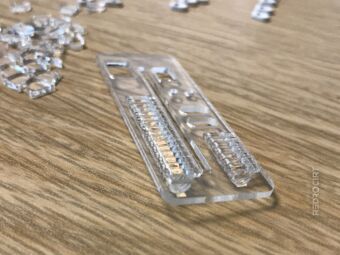
Another view of the back 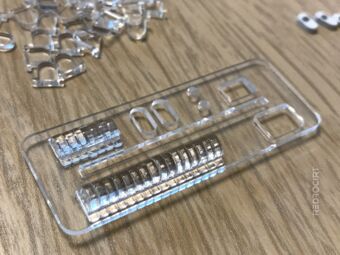
Round greebles in place


I'm not going to permanently attach them to the front panel yet, as I'm not sure how I'm going to make the LEDs for the front scanner panel.