Front scanner panel “greebles”
Section titled Front scanner panel “greebles”The resin kit I used for the shell came with greebles for the front. Although it's great that the kit includes everything needed to build a static replica, I didn't like the look of these parts. I did some research and thought the scanner arrays might look more professional if they are made of transparent acrylic.
Custom acrylic laser cut
Section titled Custom acrylic laser cutI didn't know what sizes could be cut with the laser and how the cut tolerance would affect the fit of the final parts. For an initial test, I created vector forms with multiple variations and requested the laser cuts of 2 and 3 mm thick acrylic GS from a company I found online that offers custom acrylic laser cuts.
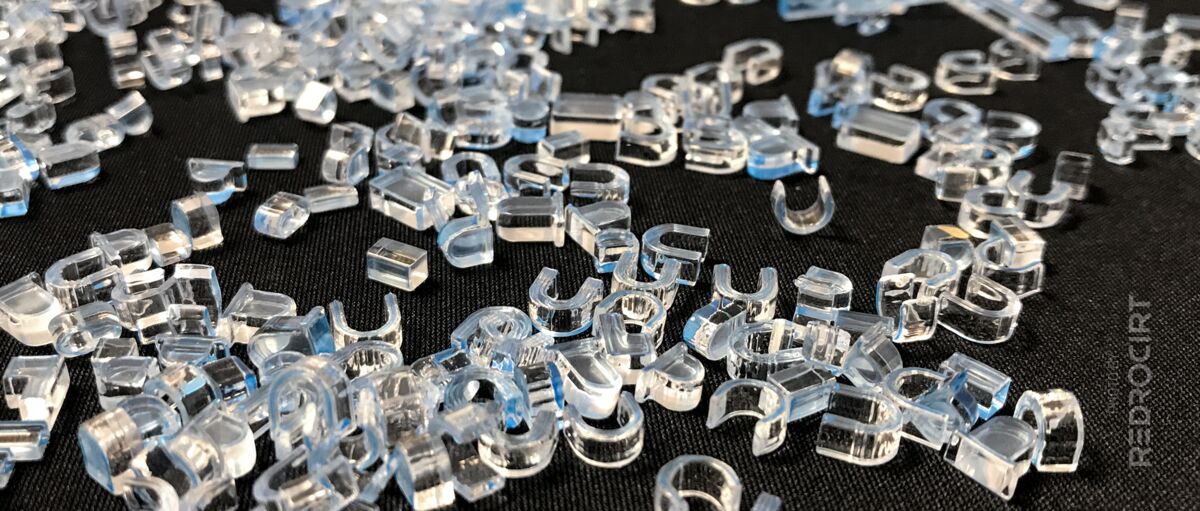
When the parts arrived, I was impressed by the quality. At my request, the company did not remove the protective film before cutting to avoid smoke marks. It took me two evenings to remove the protective film from each piece, but it was worth it, the pieces are all crystal clear. I sorted them by size and shape...
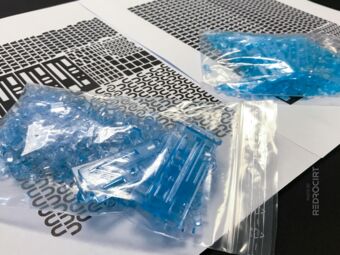
Received with blue protective film 
Removing protective film... 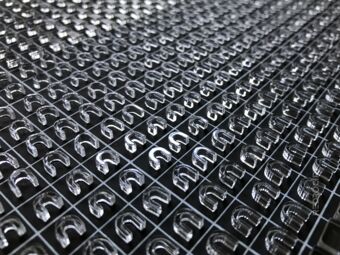
Arches for bottom scanner array 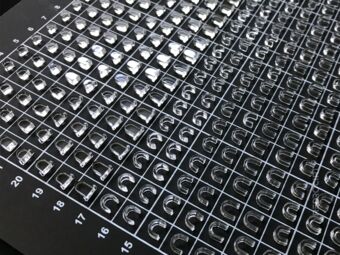
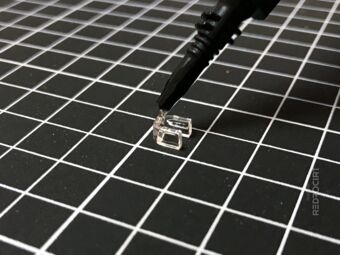
Parts with tiny legs for plug-in 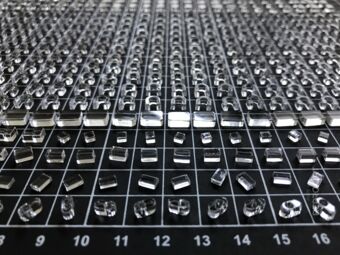
Parts for the front panel 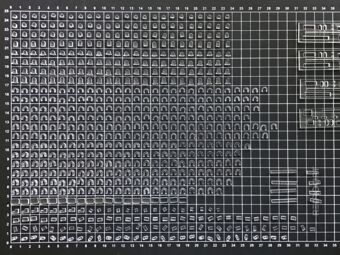
All parts sorted


Some parts look the same at first glance, but their width or length varies slightly. Of course, I ordered several elements per shape to have a reserve for failed gluing attempts. Some parts have tiny “legs” to hold them in place when inserted into the front panel cutouts.
Testing the forms and light spread
Section titled Testing the forms and light spreadFirst simple tests with a single LED showed that crystal clear isn't necessarily the best, because you can see the LED through the acrylic like through a window (forgot to take photos, sorry). I started sanding down some parts, filing dents and sawing cuts to see how that would look. I wasn't happy with the results.

Attempts to improve light spread 
Added dents/cuts and sanded 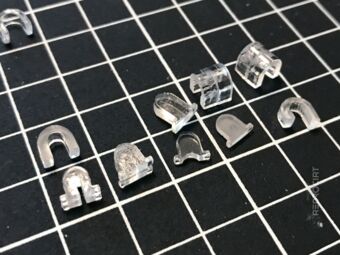
Didn't work as expected


Focus on the lower scanner array
Section titled Focus on the lower scanner arrayI put the parts for the front panel aside and started experimenting with the parts for the lower scanner array. Some pieces I had ordered were completely round on the inside, others had a star shape on the inside. The latter seems to be better for light scattering. I tried to connect the parts with acrylic glue.
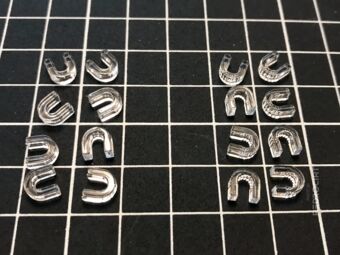
Left: inside round; Right: star form 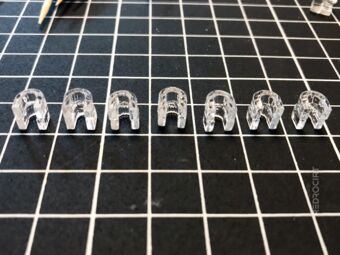
Glue round 1: Stack 2 alternaterly 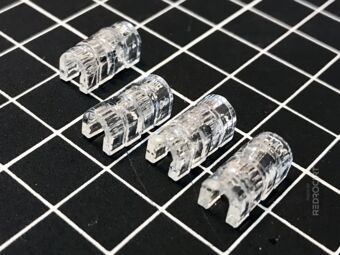
Glue round 2: Stack of 4 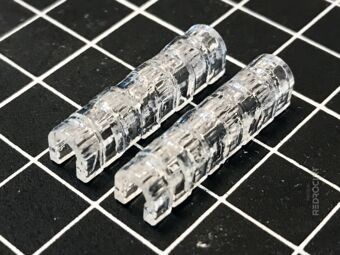
Glue round 3: Stack of 8 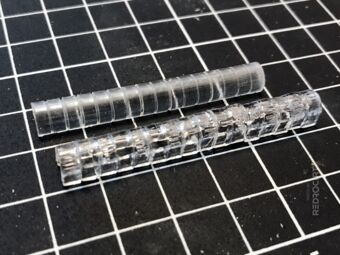
Glue round 4: All together 
Comparison with the kit's greeble


The last two pictures show the greeble that came with the kit above and my gluing attempt below. The result was meh... didn't like it. The alignment was crappy, and the glue was running along the inside walls, which looked bad. It was also a very fragile construction, easy to break. You may have noticed that my scanner array is slightly wider than the kit version. That's intensional.
Rough PET sheet for the rescue?
Section titled Rough PET sheet for the rescue?I had a 0.5 mm PET sheet with a rough surface lying around and thought this might help strenghen the construction and also spread (and diffuse) the LED light better. After folding the PET, I glued it into my scanner array and let it dry. Then I carefully wet sanded the outside to get a smooth surface.

Folded PET with rough surface 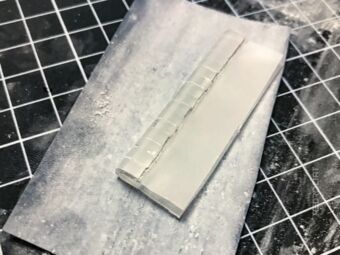
Rough wet sanding 
Medium grid wet sanding 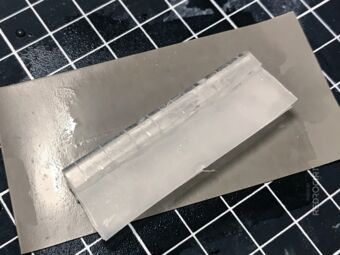
Fine wet sanding and polishing 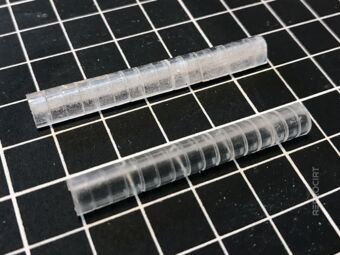
My attempt above the kit's greeble 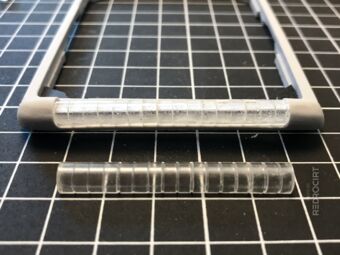
Fitting test with the frame


The folded PET came off during wet sanding, but the rough surface texture was transfered to the glue and was still visible. It was okay for a first try, but I still wasn't very happy with the look and feel.
More attempts with different glue types
Section titled More attempts with different glue typesIn the days that followed, I had experimented with other adhesives, such as universal glue, 2-component glue, and a new type of UV glue that cures when illuminated by a UV LED. Unfortunately, most adhesives are too runny or look bad when dry. Many trials and errors... (didn't take photos of every attempt)
Apply a few dots of glue 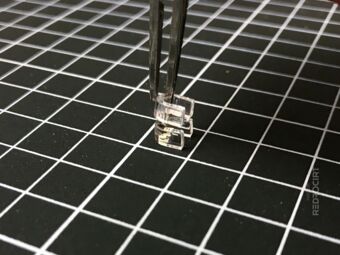
Put on the next piece with tweezers 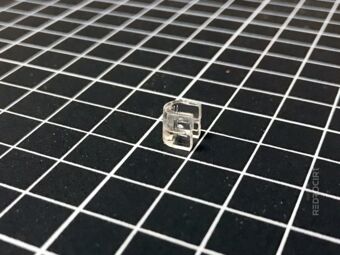
After careful alignment... 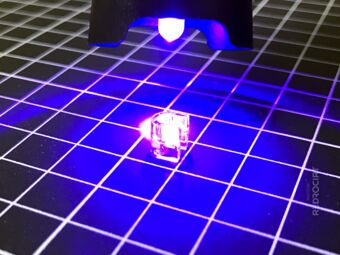
...cure the glue with UV light 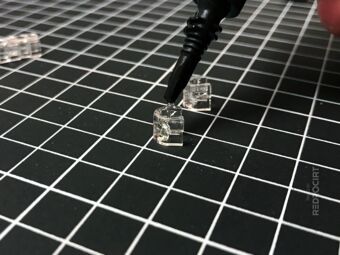
Glue running inside the parts 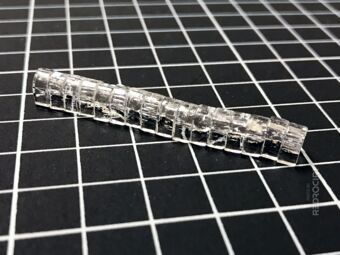
That was still not what I wanted


I filed and sanded again, but didn't like the results. All gluing attempts were very fragile, and some glued scanner arrays broke during sanding or when I inserted them into the frame for a fitting test. This was frustrating. I decided to redesign the part shapes and ordered another pack of custom acrylic laser cut...